And now for something completely different, (at least for a hat blog)
I'm working on an Elizabethan dress based on this portrait. (Don't worry, I'll be making the hat too)
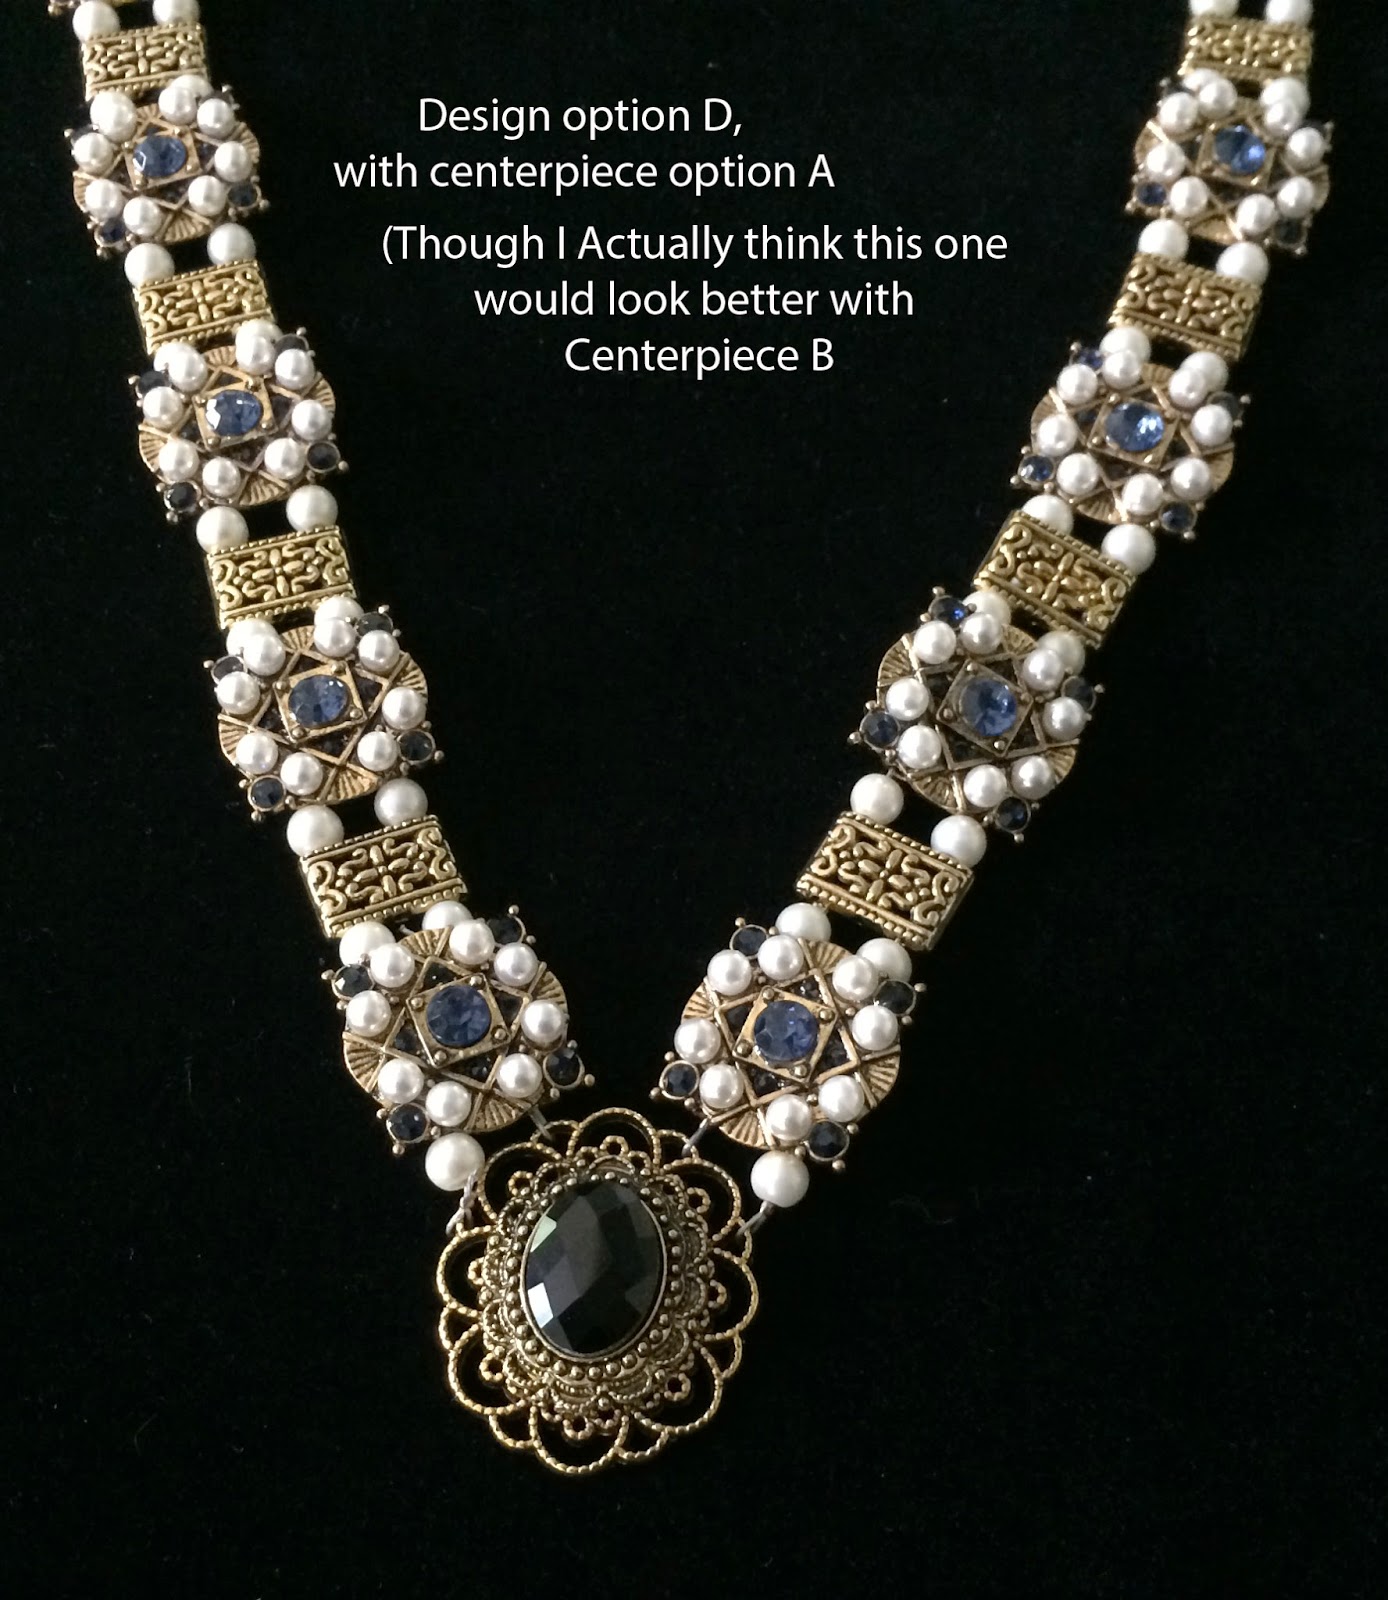
Why, you might ask? To have something on which to showcase the awesome sparkly ouches and the girdle belt and Carcanet necklace :) of course. I estimate that with the jewelry and all, this will use about eighty of them. First, I have to make it, though.
I've made great progress working on the bodice, including a sweet little upper sleeve puff with a zillion little darts in it and persnickety little pickadills.
In fact - it was SO much fun, I made this process poster thing showing the steps I used to find the sleeve pouf pattern.
This sortof got my documentation bug going, and also got an enthusiastic response from fellow costume geeks friends.
I promised that I would document the process I used when I made the slashed and bedecked undersleeves. Without further ado, here is
The Slashed Sleeve Process
I drafted two sleeve patterns, one that is the base shape of a very straight, pretty boring sleeve, with no puffs, and another that is exactly the same, but four inches longer. (I had done a sample of the slashes in order to find out the ratio of the larger sleeve to the smaller, which is how I came up with the four inches larger.)
On both sleeve patterns, I marked and notched the horizontal lines for the rows of trim and the spaces that I would slash, but it turned out that I only needed them on the larger pattern, and even on that, I used the ruler rather than my notches for the sake of precision.
My assumption that the slashes needed to be on the bias was proven to be true by the samples I did, but I wanted the slashes to appear vertical, so I cut the entire outer satin sleeve layer on the true bias. (This one is the larger pattern.)
Then, I marked all the horizontal trim lines on the back side of the satin, and very carefully marked the grid lines (3/4" apart and 3/4" high) that will be the slashes.
 |
| Back side of satin sleeve - with grid all marked. |
I placed a rubber cutting mat beneath the satin, and used a box knife with a new blade and my clear ruler to make the slits. The biggest challenge was to do them cleanly with one cut, since going back over a cut made it not as neat.
Here is the front view of the silk satin, with the slits all cut.
I cut out the smaller base sleeve layer from cotton drapery lining, which was thin but quite papery/stiff. This layer, I cut on the straight grain, like a regular sleeve.
I lined the two layers up and pinned them at the cuff
On the satin side, I pinned the first row of the trim through both layers of sleeve, just below the first row of slits.
And stitched it in place on both sides, using invisible nylon thread. (I did a number of samples with "real" thread - and this was by far the best looking result. Not my favorite stuff to work with, but sometimes it's the right tool for the job.) I found that a narrow zig-zag stitch was the least noticeable, which was a little surprising. I couldn't see the stitches at all.
I pressed the trim flat, and went back to the cutting table.
I placed a thick cord (I had to twist three together to make it thick enough) in between the two sleeve layers to create the ridge I wanted between the trim rows.
You can see the ridge here
I pinned the next row of trim in place below the next row of cuts, and gently pulled out the cord.
Repeated this process with all rows of trim
Another angle of the same thing.
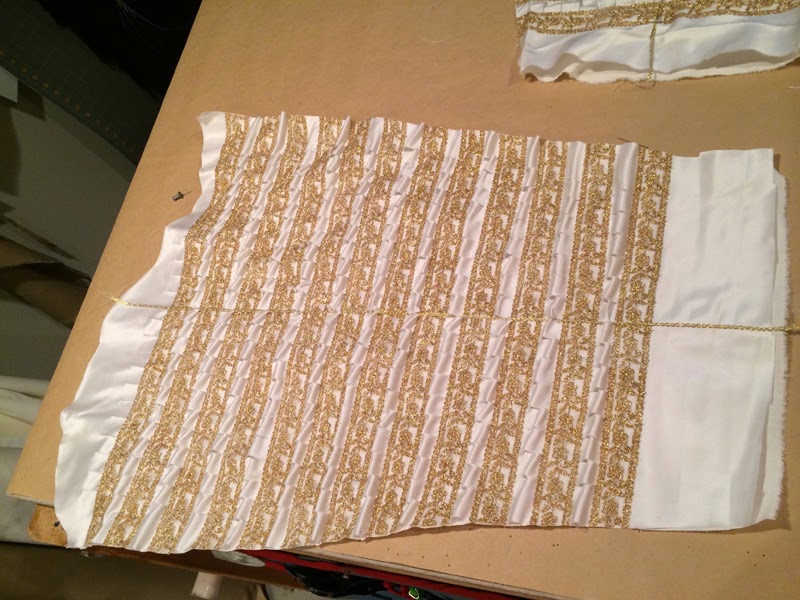
Here are all the rows of trim, all pinned in place.
I then stitched all rows of trim through both layers of the sleeve, This holds all the puffs in place on the base sleeve. As I got higher up the sleeve, I rolled the stitched rows up and pinned the roll to keep the sleeve from being scrunched against the machine, and keep everything neat.
Here's the sleeve with the trim rows all stitched down, from the back side.
And here it is from the front.
I stitched the single vertical row of trim down the center of the sleeve and trimmed all the raw trim edges down to a smaller seam allowance on the long seam edges.
I then pinned the sleeve seam, matching the rows of trim carefully, stitched the sleeve seam, and pressed the seam allowance open.
Here's the current state of the sleeve. Next, it will get little satin pickadills at the cuff, and then get a
smooth, thin lining, and be otherwise treated like any other sleeve.
(Here's an earlier version, before I added the vertical trim, but it's pinned into the doublet.)

The entire process took three and a half hours (not bad, really!)
Whew!
Now? I will go to bed.


.jpg)


